Desolder a Component Without Board Damage
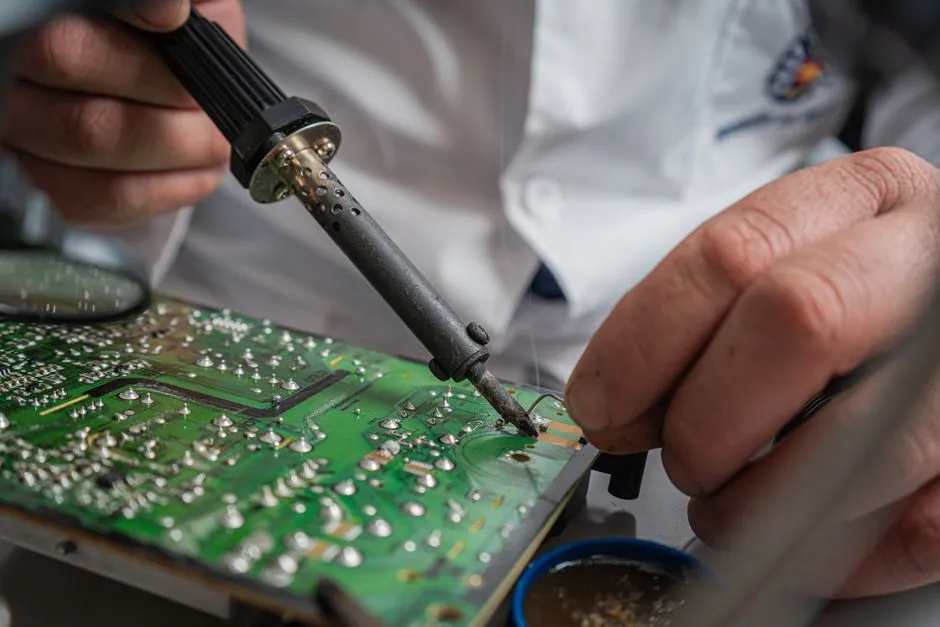
Decide whether removal is necessary
Confirm the component is actually faulty, identify its package and board construction, and decide whether clipping a disposable lead, using hot air, a vacuum station, wick, or a pump fits the assembly. Multilayer boards, heavy planes, fragile flex circuits, lead-free alloys, and heat-sensitive packages need specialized methods.
Practice on scrap before working on an irreplaceable board. Sentimental value does not improve pad adhesion.
Deenergize and document
Disconnect every source and battery, follow the documented discharge procedure, and verify the known low-voltage circuit is deenergized. Photograph orientation, polarity, wire routing, connector position, and surrounding parts. Mark the replacement pin and package reference.
Stop entirely for mains, unknown stored energy, high-voltage batteries, CRT, microwave, medical, or safety equipment.
Control fumes, residues, and heat
Use local fume capture, eye protection, a stable board holder, the alloy and flux safety instructions, and a correctly maintained iron. CDC/NIOSH notes that heating or soldering metal can produce lead fumes. Keep food away and wash hands afterward.
Choose a tip with enough contact area to transfer heat quickly. Excess temperature with a tiny tip can burn flux while the joint remains stubborn.
Add compatible solder when it helps
Fresh compatible solder and flux can improve heat transfer and mix with old alloy, making removal more uniform. This is especially useful when the existing joint is oxidized. Use only electronics flux approved for the board and alloy—never plumbing flux.
Use wick without scrubbing
Place clean fluxed braid on the joint, put the tinned tip on top, and lift braid and iron together once solder flows. Do not drag hot braid across pads or press hard. Cut off saturated braid before the next attempt.
If the solder will not flow, stop, cool, clean, and correct tip contact or thermal capacity.
Use a pump with controlled timing
Heat the joint until fully molten, remove the iron only as the pump procedure requires, and trigger without striking the board. A manual pump can shock small pads; a temperature-controlled vacuum tool may suit repeated through-hole work better.
Do not keep cycling heat while the board accumulates damage.
Free every pin before pulling
Check that each lead moves independently only through a gentle method appropriate to the component. Never pry the body against the board or pull while solder remains solid. For multi-pin parts, professional hot-air, preheating, or rework equipment may be the safe option.
If a via or pad begins to lift, stop immediately.
Inspect and clean after removal
Allow the board to cool. Examine pads, barrels, vias, traces, mask, nearby components, and laminate under magnification. Use the PCB inspection process and the correct solder-joint criteria.
Remove flux only with compatible materials. Confirm pad continuity and absence of bridges before installing the new part.
Know when to hand off
BGA, fine-pitch, bonded heat-sink, multilayer power-plane, flex, conformal-coated, and irreplaceable assemblies may exceed hobby tools. Qualified board rework is cheaper than learning that the plated-through hole was also the connection to three internal layers.
Good desoldering feels uneventful: enough heat, one clean removal, intact copper. If the component finally comes free with a piece of the board attached, the tool has changed from desoldering to excavation.