How to Prepare and Maintain a Soldering Tip
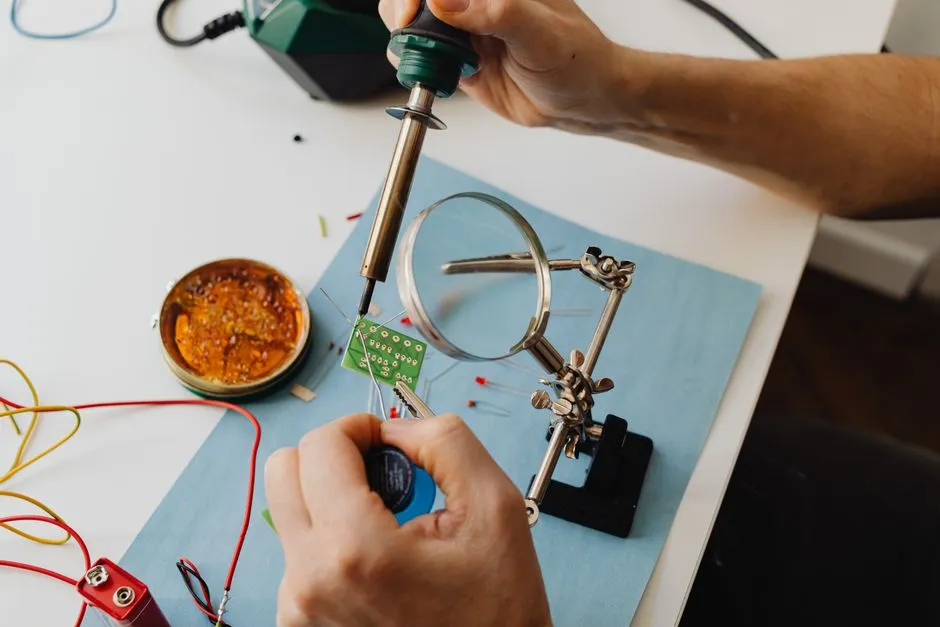
Start with the tip maker's instructions
Use the correct tip, temperature range, stand, cleaning method, and solder or tip activator approved for the station and alloy. Temperature numbers copied from another iron do not account for sensor location, tip mass, calibration, joint size, alloy, or thermal recovery.
Inspect the cartridge and tip cold. Replace cracked, perforated, bent, loose, or badly eroded parts; do not file plated tips unless the maker explicitly provides that procedure.
Set up heat and fume controls
Place the iron in a stable heat-resistant stand, route the cord away from elbows and board edges, and position local fume capture near the work without cooling the joint excessively. Wear eye protection where clipped leads or molten solder can move.
Read solder and flux safety data. CDC/NIOSH notes that heating or soldering metal can produce lead fumes. Keep food and drinks away, avoid touching the face, and wash hands after work.
Heat, clean, and tin promptly
Bring the station to the manufacturer-recommended working condition. Clean oxidation and residue using the approved brass-wool or damp-sponge method, then immediately apply a small amount of compatible solder across the working surface. The fresh solder layer improves heat transfer and protects plating from air.
A tip that will not wet may need approved tip activator or replacement. Aggressive abrasion can remove protective plating and turn a temporary problem into a permanent texture.
Match tip geometry to the joint
Use a contact area large enough to transfer heat efficiently without touching nearby plastic or components. A tiny needle tip is not automatically more precise; it can force longer dwell and higher temperature. A broad chisel can be controlled and fast when it fits the pad and lead.
Change tips only through the station's safe cooling and handling procedure.
Add solder at the heat bridge
For a joint, place the tinned tip so it contacts both pad and lead. A small initial amount of solder can create a thermal bridge. Feed the remaining solder to the heated joint rather than melting a blob only on the iron, then remove solder and tip in a controlled sequence.
The exact dwell, temperature, and alloy behavior depend on the board, finish, mass, and component limits. Stop if the pad, insulation, or package overheats.
Clean during work without stripping the tip
Remove heavy oxide or burnt flux only as often as needed, then re-tin. Repeated vigorous cleaning removes useful solder and accelerates oxidation. Avoid corrosive plumbing flux, uncontrolled acids, and unapproved compounds.
Review good-joint inspection instead of trying to fix every shape by adding more solder.
Store the tip under solder
At the end of the session, clean as directed, apply a generous protective solder coating, place the iron in its stand, switch it off, and let it cool where nobody can touch or move it. Do not wipe the storage coating away before shutdown.
Inspect and clean the stand and fume equipment after cooling. Dispose of dross, wipes, and lead-contaminated material according to product and local rules.
Diagnose poor wetting before raising heat
Possible causes include an oxidized tip, incompatible or exhausted flux, contaminated surfaces, wrong alloy, insufficient tip contact, a heat-sinking ground plane, damaged plating, or a joint that should not be hand-soldered. Higher temperature can burn flux and lift pads without solving contamination.
Desoldering technique and flux cleanup both begin with compatible materials. A shiny new temperature setting is not a substitute for a clean tinned tip—though it is excellent at making the handle feel decisive.