Diagnose a Low-Voltage Device With No Power
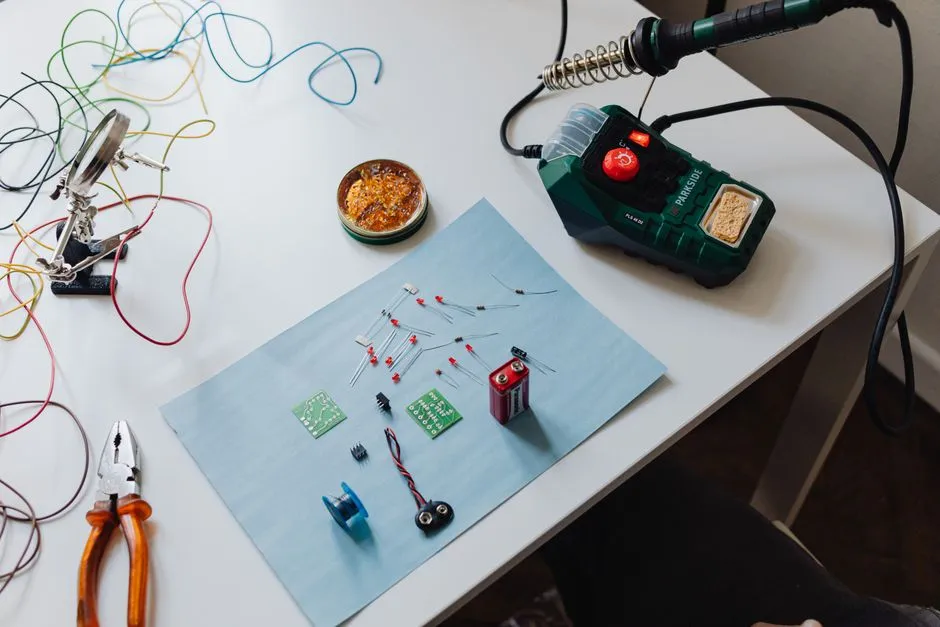
Confirm the device belongs on the hobby bench
Proceed only when the equipment is a known isolated low-voltage device with documented supply limits and no hazardous stored energy, damaged lithium cell, mains section, medical or safety function, pyrotechnic element, or unknown internal converter. Otherwise keep it closed and use qualified service.
An external low-voltage label does not prove the inside lacks a high-voltage inverter, flash circuit, or battery hazard.
Record the failure before disturbing it
Note what “no power” means: no indicator, no display, no sound, no current, or failure only under load. Record the exact supply, polarity, connector, last working condition, drop or liquid exposure, odor, heat, battery state, recent repair, and intermittent behavior.
Photograph connectors and settings. Do not repeatedly plug in a device that heats, smells, smokes, or draws abnormal current.
Verify the source separately
Read the device and adapter specifications. Confirm output type, voltage range, polarity, connector pinout, current capability, and regulation. Inspect cords and plugs for damage. Measure a known safe source with the correct meter mode and jacks, and check behavior under an approved test load if the procedure provides one.
Open-circuit voltage alone does not prove the source can support the device.
Check the power path while deenergized
Disconnect every source and battery, follow documented discharge procedures, and inspect the inlet, switch, fuse or protection, connector soldering, traces, reverse-polarity device, and regulator area. Use continuity testing for defined paths, accounting for parallel components.
Never bypass a fuse, protection device, interlock, or thermal cutoff. Replace only with the exact approved type after diagnosing why it opened.
Look for a short before applying power
Measure rail-to-return resistance or diode behavior only as the circuit documentation supports. Capacitors and semiconductors can create changing or direction-dependent readings. Compare with a known-good reference or schematic expectations; do not label one beep a short.
Inspect the PCB for bridges, corrosion, cracked jacks, lifted pads, failed components, and prior repair damage.
Power with current limiting
When the circuit is safe and the expected demand is known, use a bench-supply current limit appropriate to the device. Set voltage and polarity before connection, then energize briefly while watching input current and rail voltage.
Unexpected limiting, collapsing voltage, heat, smell, noise, or smoke means immediate shutdown. Do not raise the limit to make the symptom go away.
Follow power rails in order
With suitable secured probes and a safe low-voltage setup, verify input after protection, regulator input, enable signals, regulated outputs, reset, and power-good lines using exact schematics and datasheets. A missing output may be caused by absent input, disabled control, overload, bad ground, or a downstream short—not automatically the regulator.
Change one variable at a time and record every reading.
Verify the repair under real load
After correcting the proven fault, inspect for bridges, restore strain relief and covers, then repeat current-limited startup. Check idle and active current, rails, temperature, controls, and several power cycles. Test with the approved original supply only after controlled behavior is established.
The no-power fault is solved when the cause is understood and operation is repeatable. A single blinking LED after vigorous connector wiggling is evidence, but mostly against the connector.